Kirk Creek Campground - Big Sur

Monday, May 30, 2011

Ceiling Rebuild

So here we go on the ceiling rebuild, and thank goodness this one wasn't as bad as the front wall once we got inside and looked at the real damage.  So an inside out repair it is indeed.
New ceiling under way- we just took out the damaged panel and all the insulation ect.; put up a few extra support beams, took out the roof vent for now, put up a piece of tyvek between the aluminum and the frame, then foam insulation, next is the moisture barrier paper, and then we'll put up a new birch panel, so far so good
Had to share this picture: look at all this nasty roof tar junk we had to chizle away at!
finished product with moisture barrier paper behind the birch panel

Alright, It's official I'm a blogger now-- Front Wall Rebuild

So the first big project we decided to tackle was the rebuild of our front wall. here goes, with much help and advice from all the friends at  http://repairingyesterdaystrailers.yuku.com/ here is what we've got
Lol- doesn't look like it's going to be a inside to outside rebuild anylonger! The wood was so rotten even in the corners that we decided to open the skin up and rebuild the entire frame of the front wall

 here is the new birch paneling before staining (notice our one set of lovely original aqua dinette cushions ;-)
New birch panel in place on the inside with this moisture barrier paper behind, new plywood frame placed into the corners and then I rebuilt the whole front wall frame. (Ah notice the new propane tanks and the crapy mount the RV store welded on - this may need replacing down the line I'd like to get those round vintage propane tank mounts)
Alright, we've got the frame rebuilt, put the foam board insulation in and now we're putting a waterproof breathable membrane (TyVek ) to try and prevent condensation problems on the inside of the aluminum
Today we started putting the skin back in place, not an easy task I should say


Here We Go

Ok thought I'd try out this blog thing since so many other blogs out there have been helpful to me in the restoration of our Mobile Scout.  We've got some Catching up to do though since we've now had her 3 months and put a bit of work in already.

This is our little Trailer on the first day we got her- straight to the car wash


This is definitely not a full rebuild project, just a facelift.   My boyfriend and I both have full-time jobs and we're working on the Scout when time allows, hopefully we'll be able to take her out for a trip at least by the end of summer.  Any comments or tips you all want to share on our restoration efforts are much appreciated, we need all the help we can get! 
We got the trailer off craigslist in San Jose CA, you should have seen the clean up that was needed, drug needles and 70's porn were among some of the little treasures we found inside our trailer, I know many of you out there have also found some pretty interesting things in yours ;-).


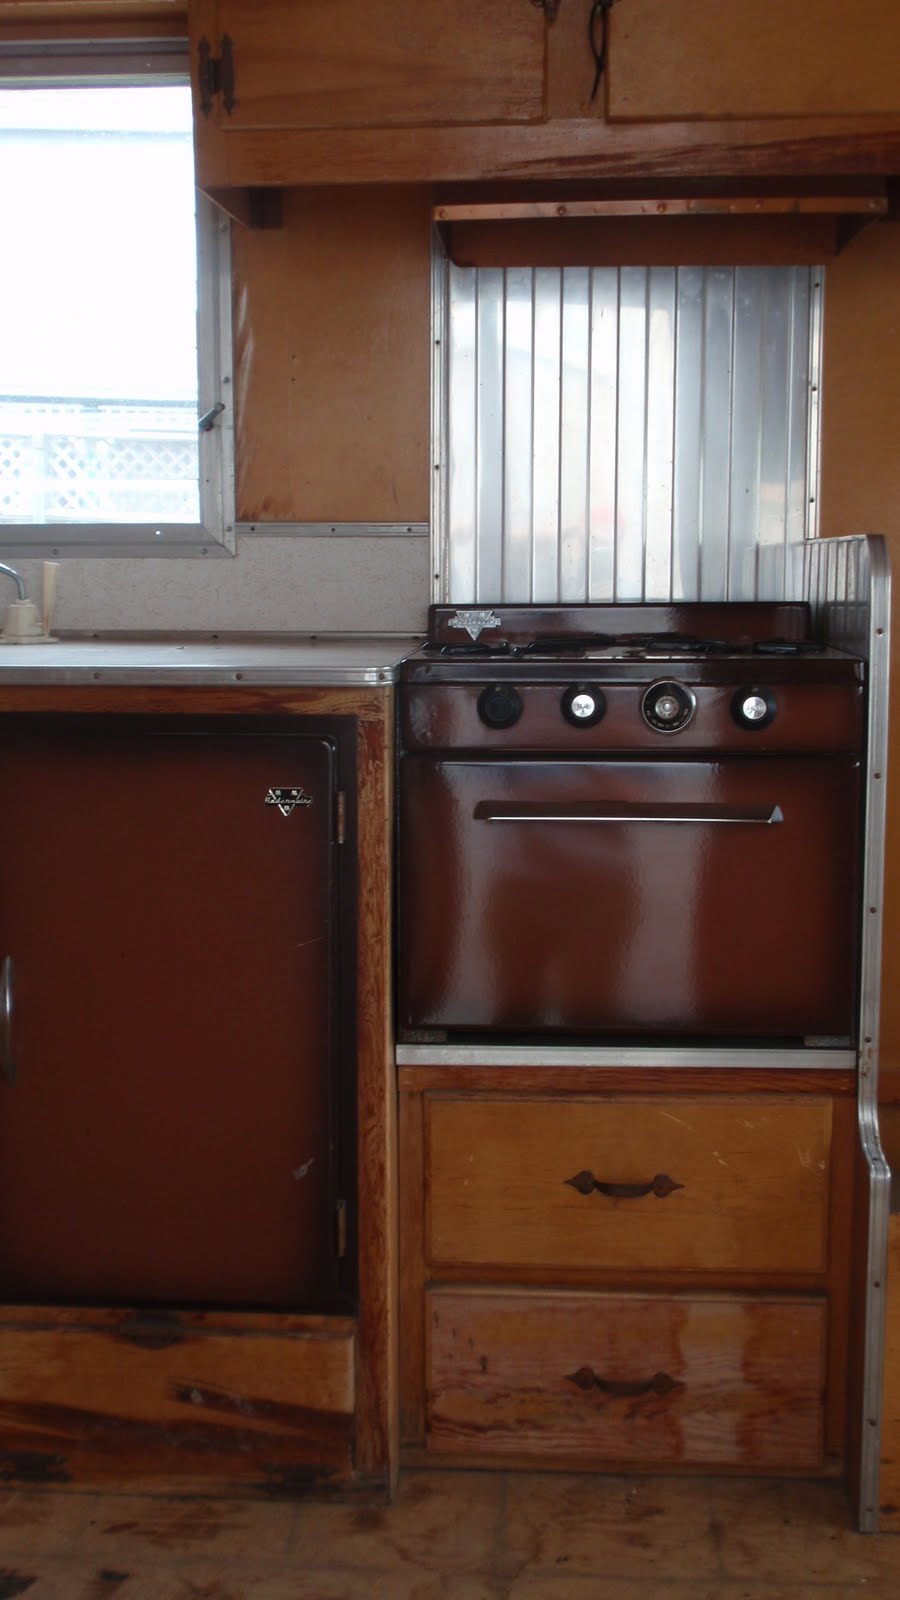
 After the clean out here is what she looked like upon first inspection.
Original appliances- ice box, and stove/oven

 This is the sleeping area (notice there is no bed frame...humm I guess we'll get to that someday).  Remnants of the original floor tiles.
 Water damage on the ceiling from leaking roof gutters
Here is the main water damage area, the entire front wall is all rotted and needs replacing for sure

 Here I am with the job site supervisor Salty Dog, as you can see there are no propane fixtures or tanks at this point either